We like to create unique pieces of furniture from everyday items. So when the opportunity came to renovate our dining chairs, we wanted to do something different.
We have some very comfy cream leather dining chairs which when we bought them, looked perfect with our light oak dining table. When we moved house and the large dining table no longer fitted or matched with our gloss white and black granite kitchen we were in a dilemma as to what to do with the chairs.
We had bought a gloss black dining table from Next but the cost of 8 chairs to go with it was another £1000! We decided on a temporary solution of some black stretch covers which we imported from America and they looked fine for the time being.

Last year, having seen Pinterest articles about painting leather with Annie Sloane paint, we thought, why not give it a go. We started with just one and used that for a good 6months before committing, what would happen with the heavy traffic of Christmas or when boys with jeans squirmed on them?
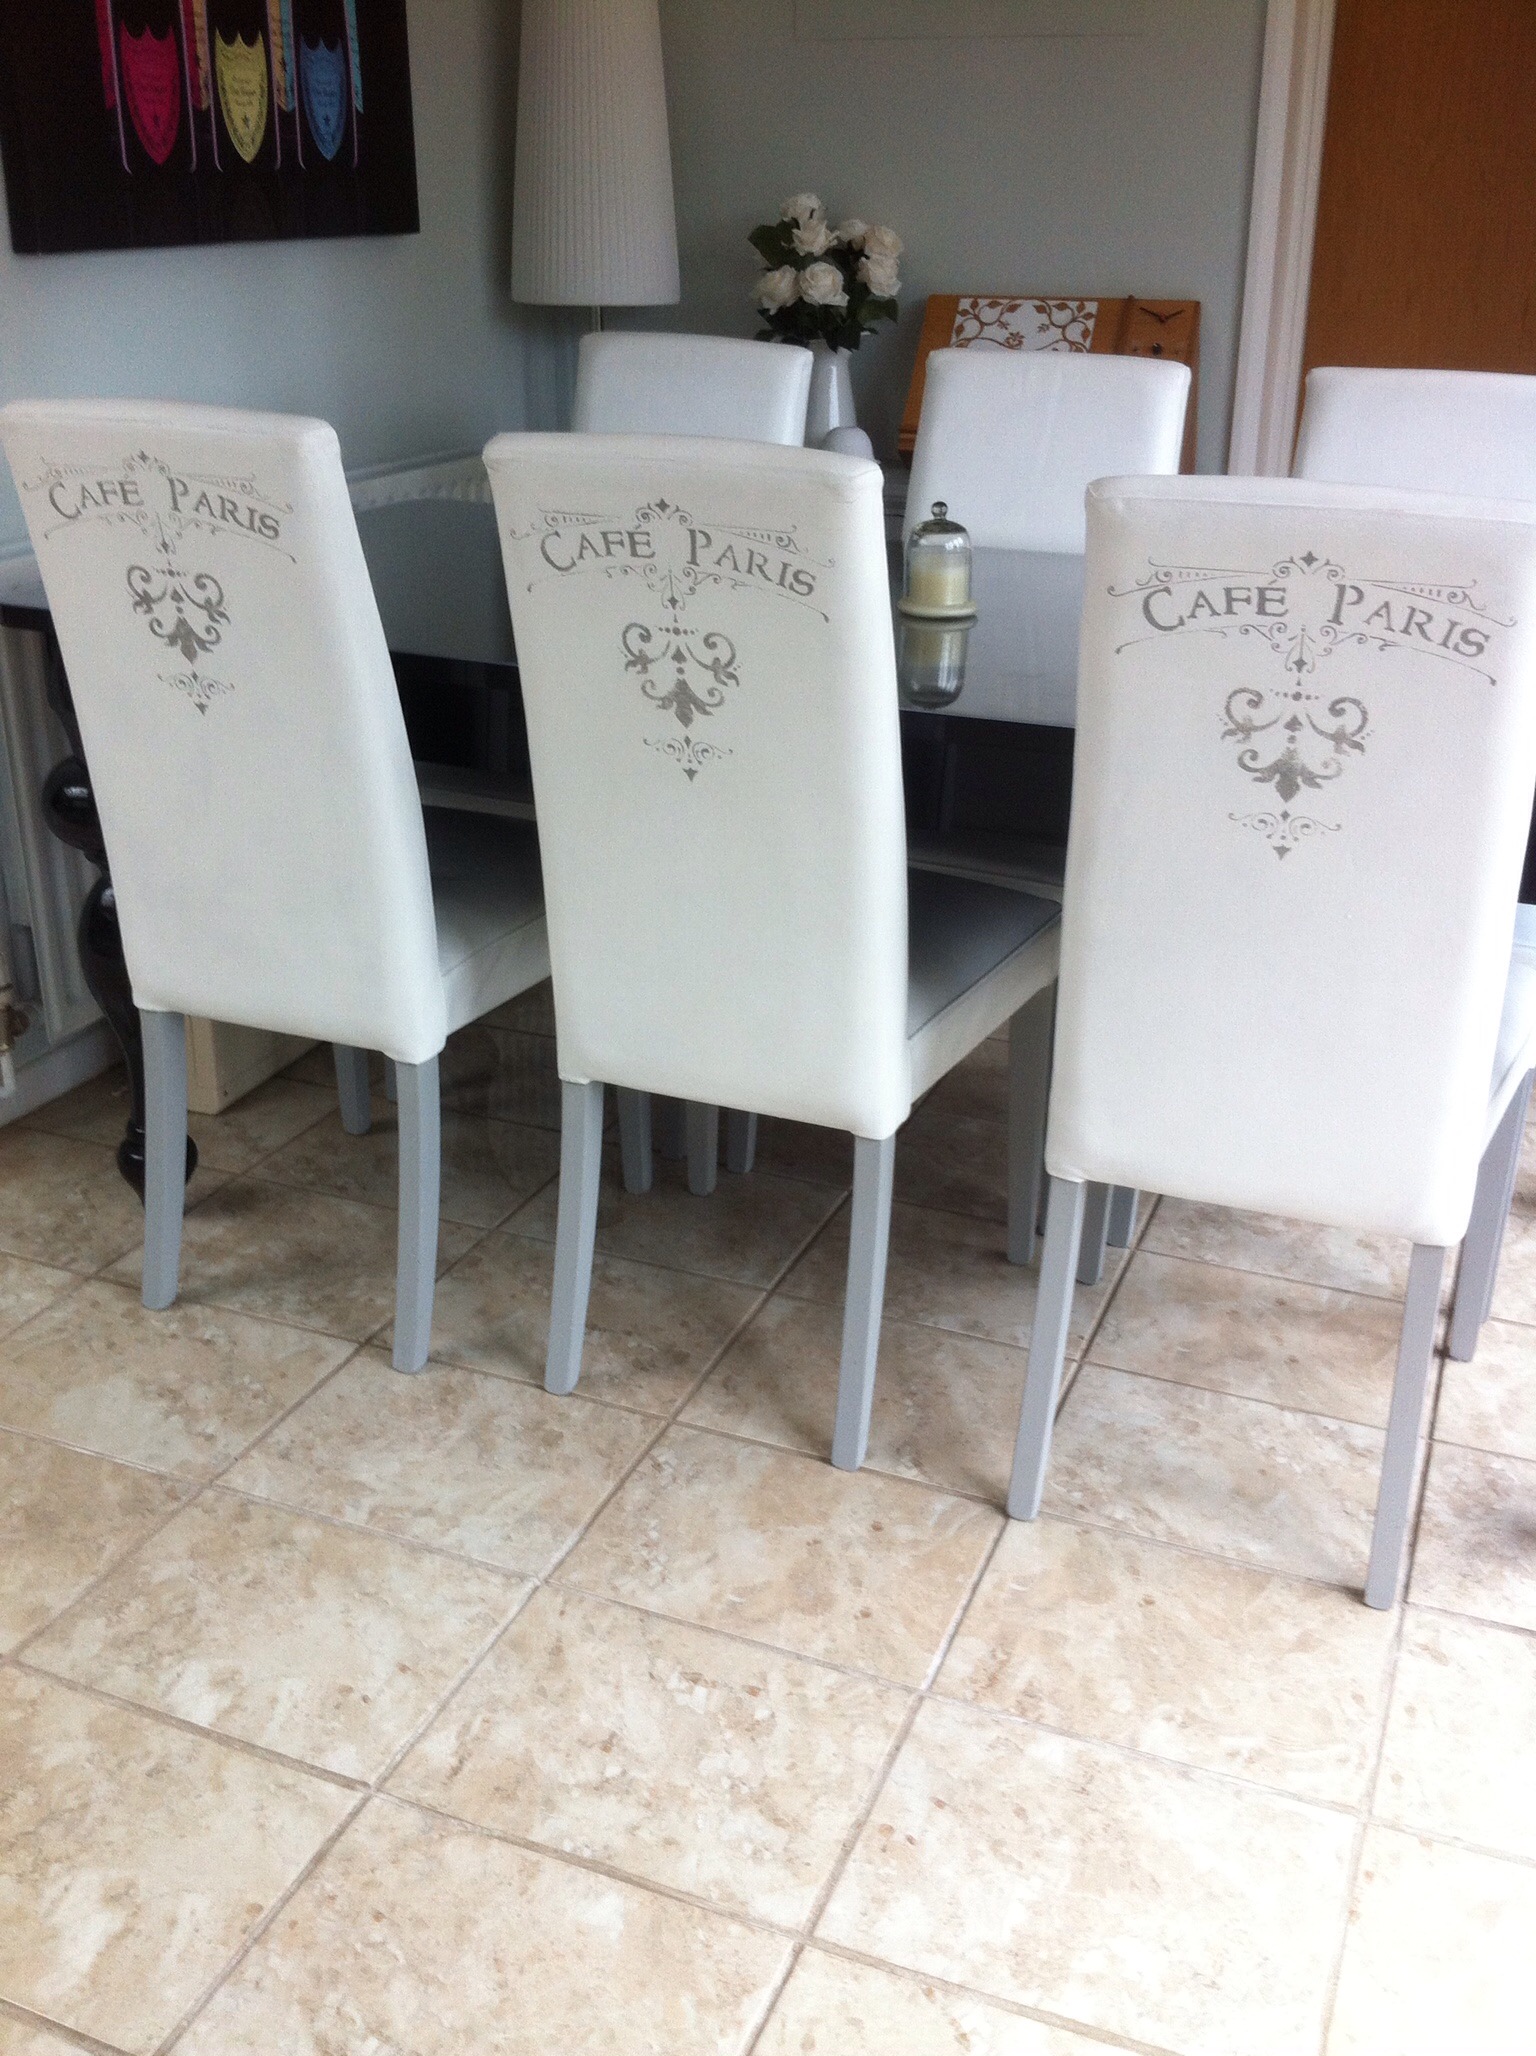
Perfect, the one test chair lived up to the demands so we went ahead with the rest and painted several coats of AS Pure, it went on perfectly covering the cream leather with ease. We also painted the light oak legs with AS Paris Grey……they looked and matched beautifully.
Our last flourish was to add our own stamp on the chairs with a little bit of stencilling. We brought a couple of stencils from Hobbycraft so we could choose and customise our own design.

Armed with a stiff brush, a ceramic tile and the AS paint in Paris Grey,

we found the centre line of the chair and stencilled the design evenly on each chair.


We combined designs from three different stencils to give the chairs their own unique look.


The stencilling didn’t take very long at all, and I am very pleased with what we’ve achieved, a French vintage look.


Like this:
Like Loading...


 <<<<<<<<<<<<<<<<<<<<<<<<<<<<<<<<<<<
ne.
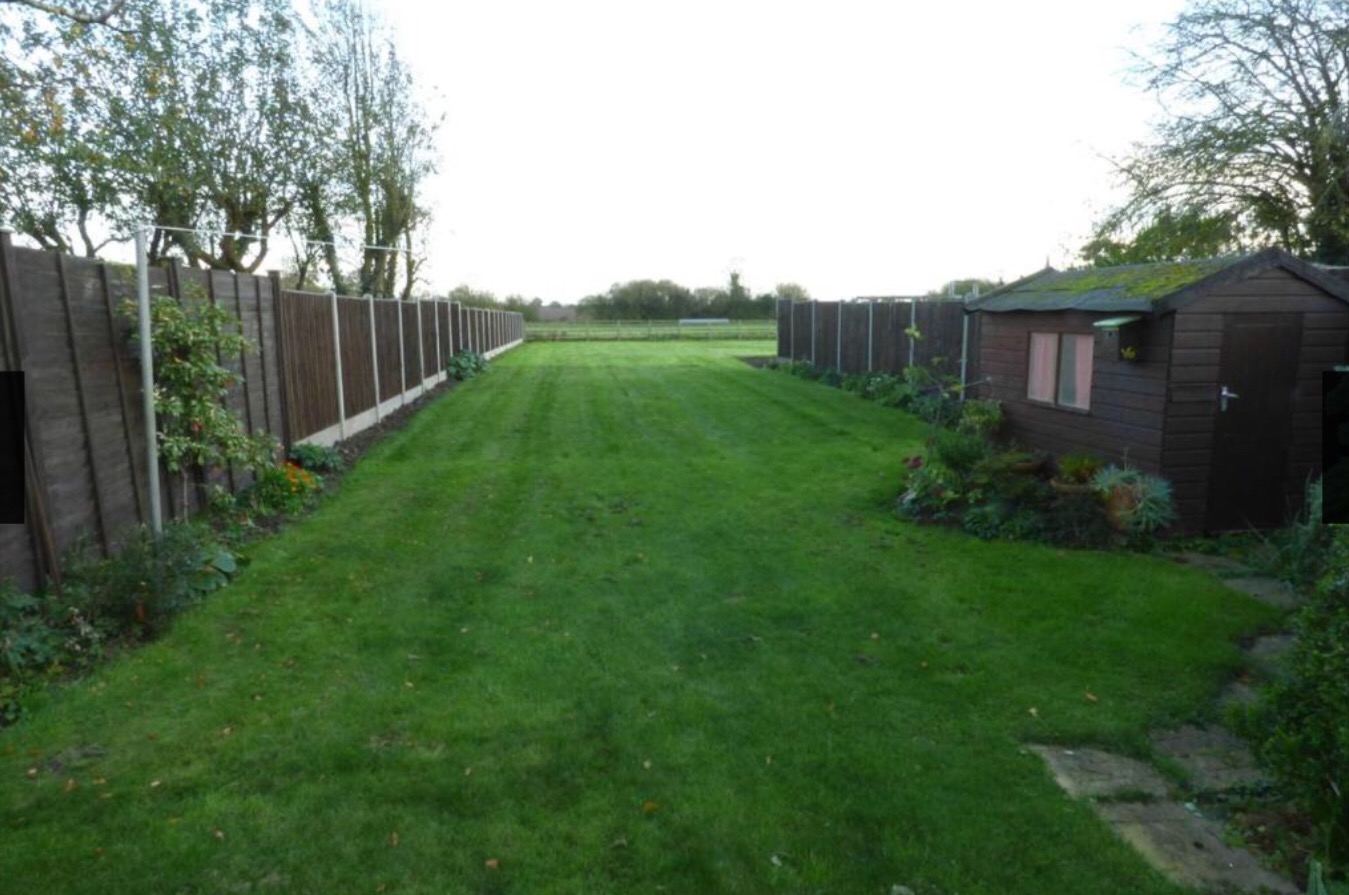
It's got nearly 1/2 acre✅
It's already had an extension to make a large kitchen ✅
The old garage has been demolished and a modern one built ✅
The garden is a blank canvas ready to go ✅
Ok the kitchen needs remodelling, and an en-suite needs adding but otherwise it's got all the basics.
Unfortunately it's a bit out of our price range whilst we still own our Oxford house but..... I need to be resourceful!
I've booked a viewing for Saturday, in case someone comes along to buy it under our noses (again) Let's see how that goes.
 We viewed the house and loved it, trouble is 2 other people have viewed it and one person has had a 2nd viewing already! Hmmm I find the whole thing so stressful, now we’ve got to see if we can raise the extra finance and get an offer in ASAP if we want it.
 To be honest if someone does put in a full asking price offer, I’m not going to get into a bidding war with them, the asking price is really what it’s worth so I wouldn’t be prepared to go any higher anyway.


